How to Overlay Patterns on Clothes with Pipelines
(A Walkthrough by HeretoHelp)
Intro
The Character Editor's Programmable Image Import Pipelines are an incredibly powerful tool, and it's surprisingly simple to use. Unfortunately, it isn't as intuitive to people who don't have much experience with things like it, haven't learned how to break down and solve programming problems, or just find the whole thing a little intimidating. Well my name is Adrian, and I immediately dived into Pipelines when they came out, and have developed a very clean understanding of how to use them! I hope I'll be able to share that understanding with you, and help you with whatever your plans are for your model!
So why would you want to overlay a pattern onto your character's clothes? The biggest reason is just that kisekae is really limited. If you want a striped T-shirt in kisekae the only option you really have is to spend an unfair amount of time with belts and ribbons for something so simple, and if you want plaid? Good luck. Luckily Pipelines make this so much easier. In this guide I'm just going to go over a very basic setup, but there's always more you can do! I highly encourage you to spend time just messing around and seeing what you can do—that's how I got to where I am right now—and if you have any questions or need any help, feel free to ask me in the developer or community discord servers, my username is HereToHelp#1941.
For this guide, I'm just going to walk you through all the steps for making a striped shirt, I'm going to take you along and explain why I take the steps I do. This was originally all sent in the #kisekae channel in the community server, where it is a pinned message. I'll be rewording a few things for this context, but for the most part what you read here is what I typed when I was guiding someone else through the same process. With that in mind, let's begin!
Setup
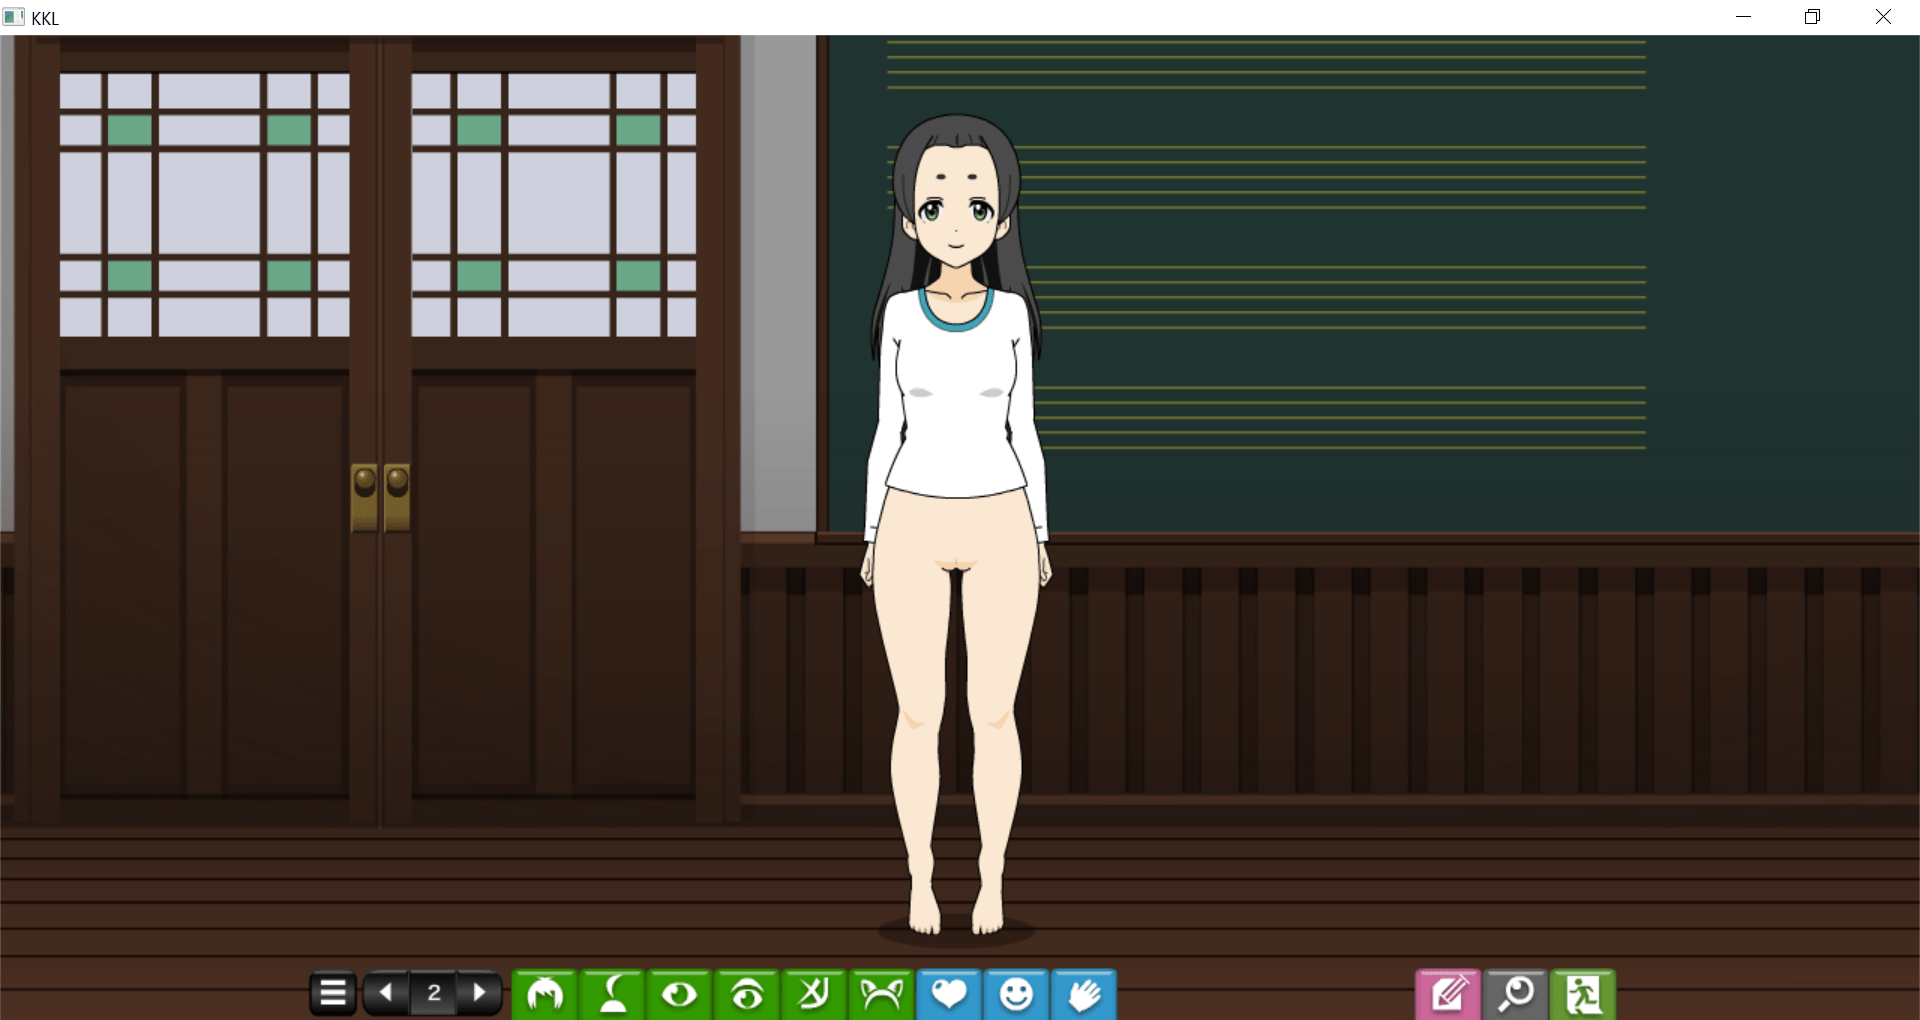
This default-chan wants stripes on her shirt! Let's figure out how to do that.

First: we're gonna change her shirt color to FFFFFF, which it currently isn't quite. I'll explain why this is important later.
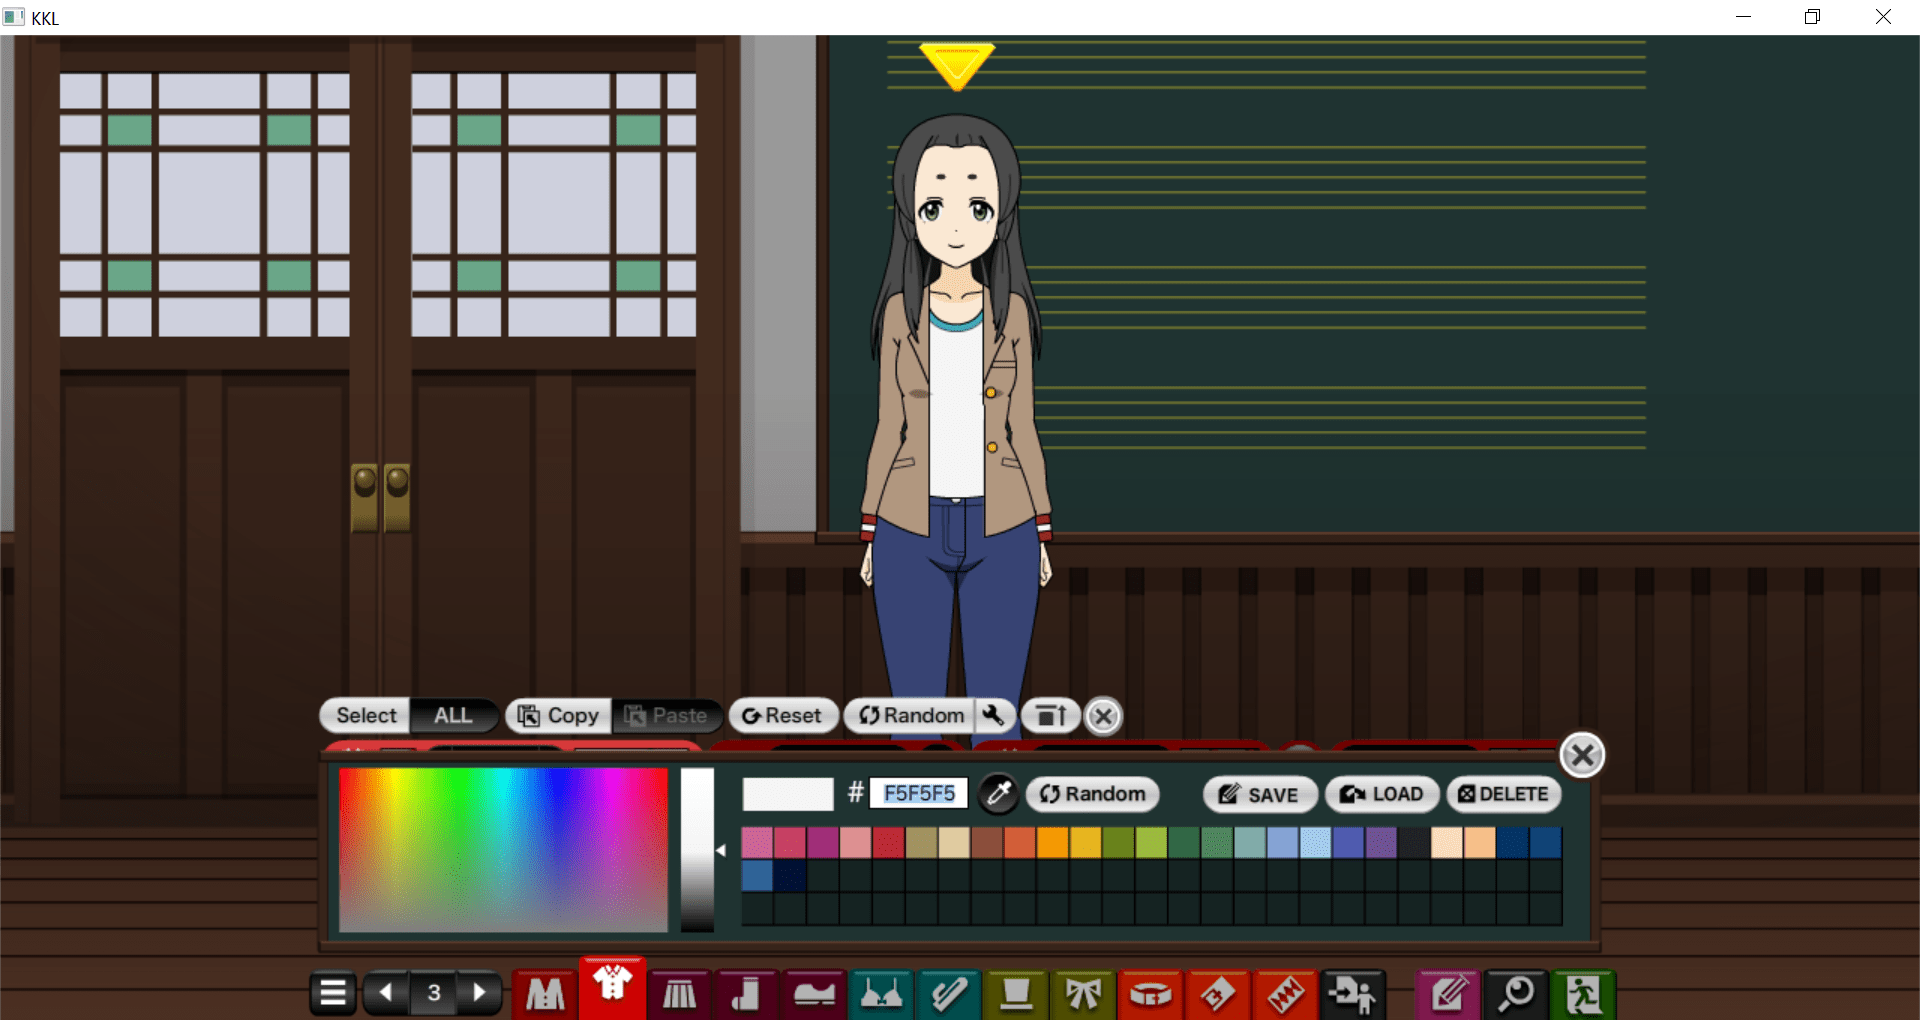
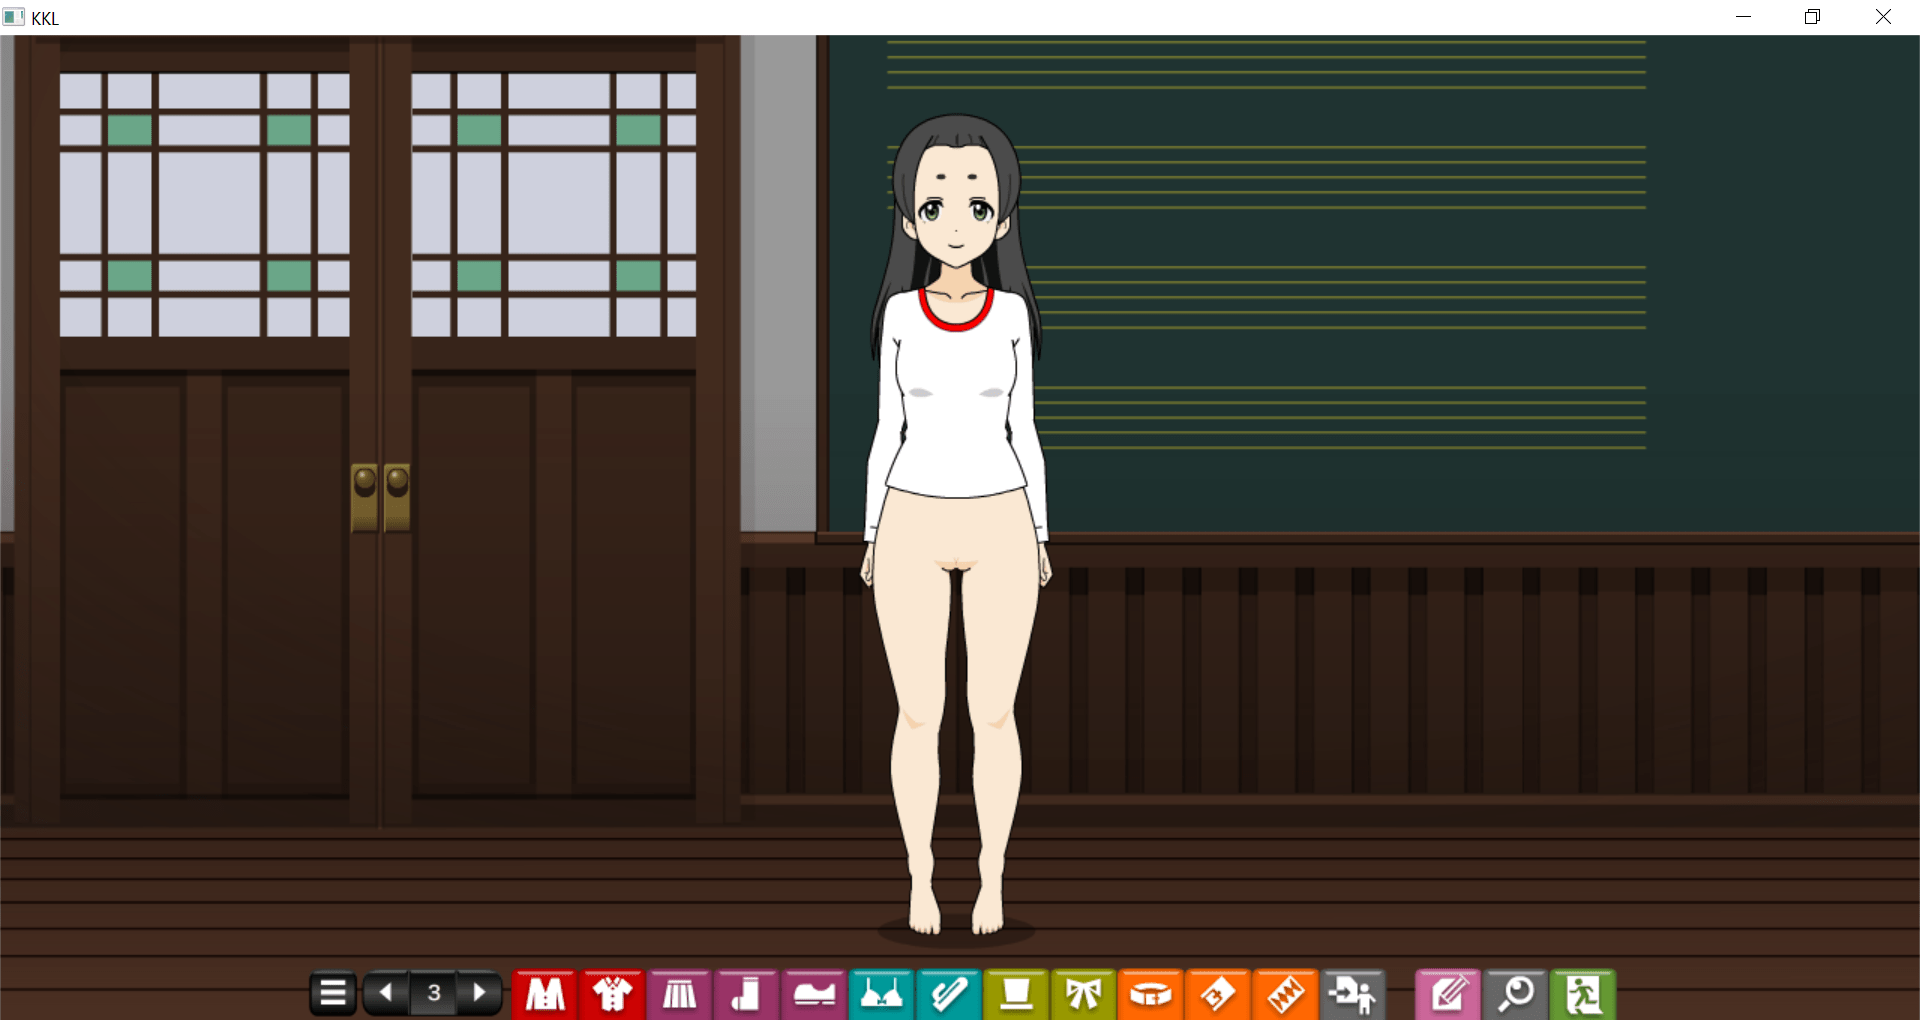
There we go.

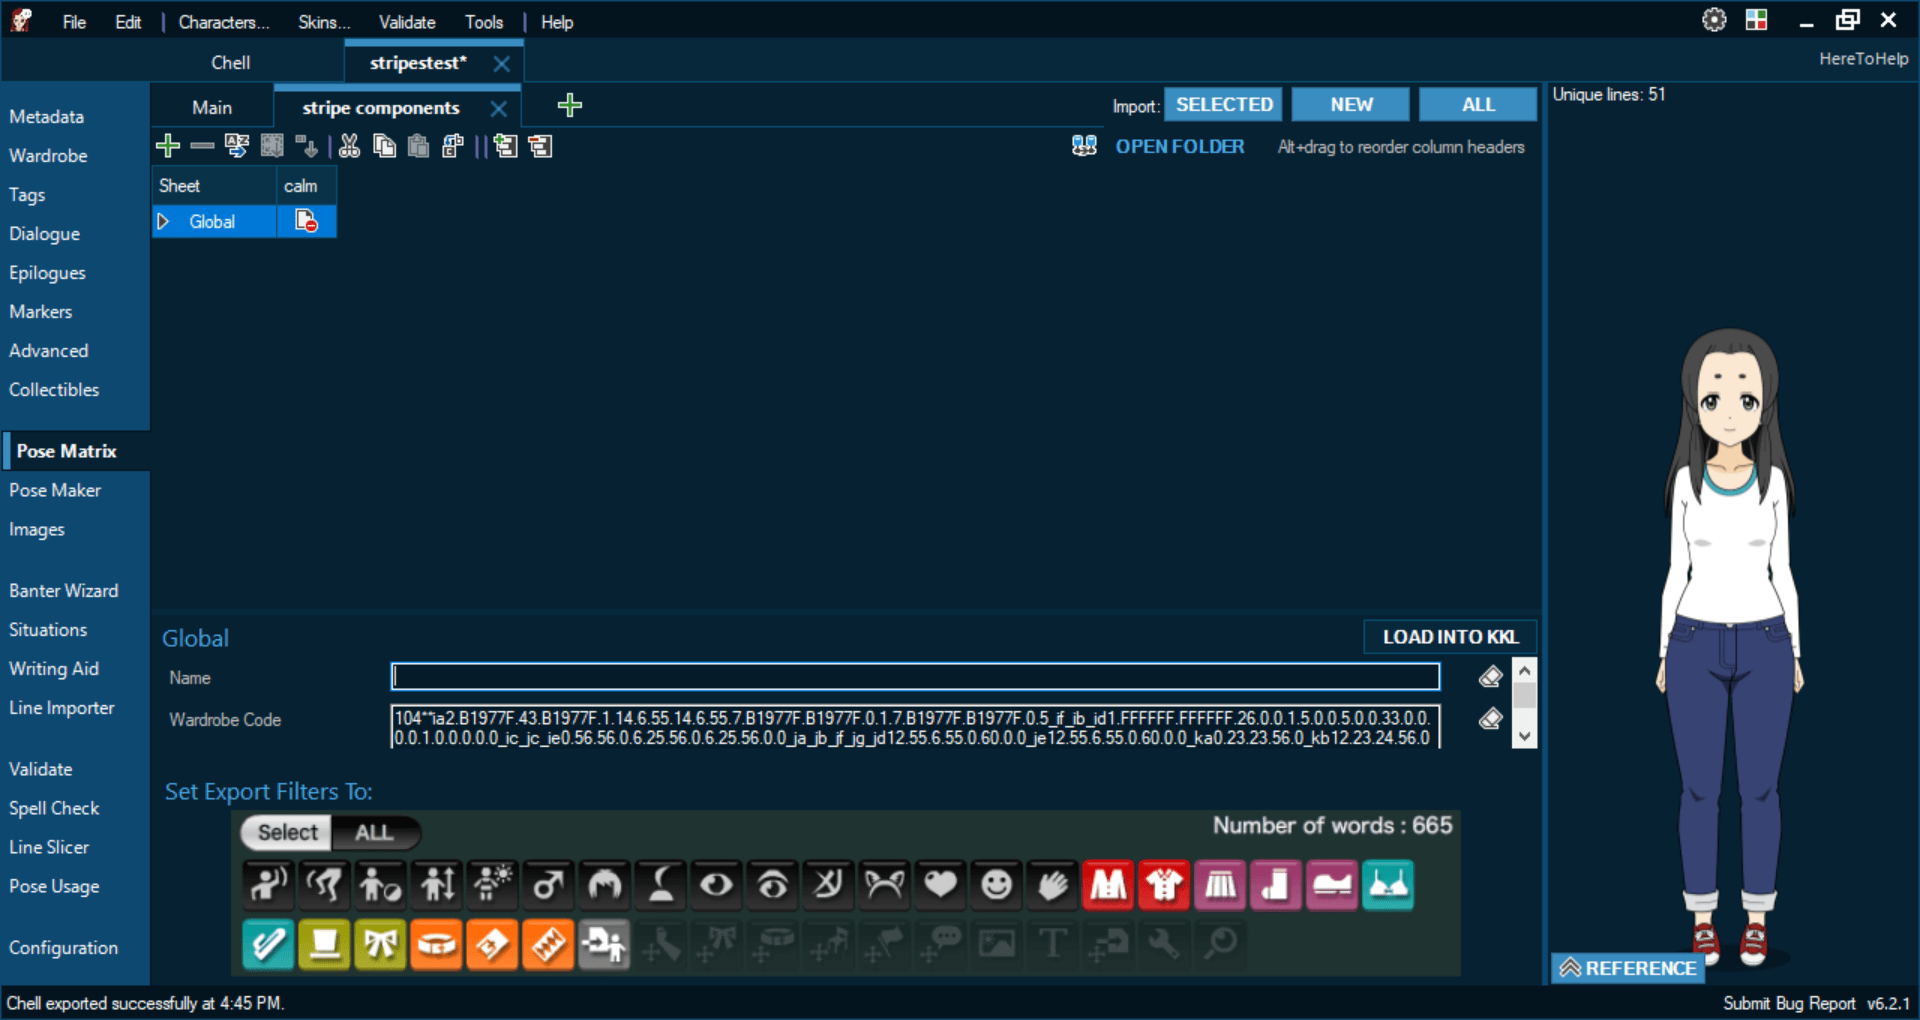
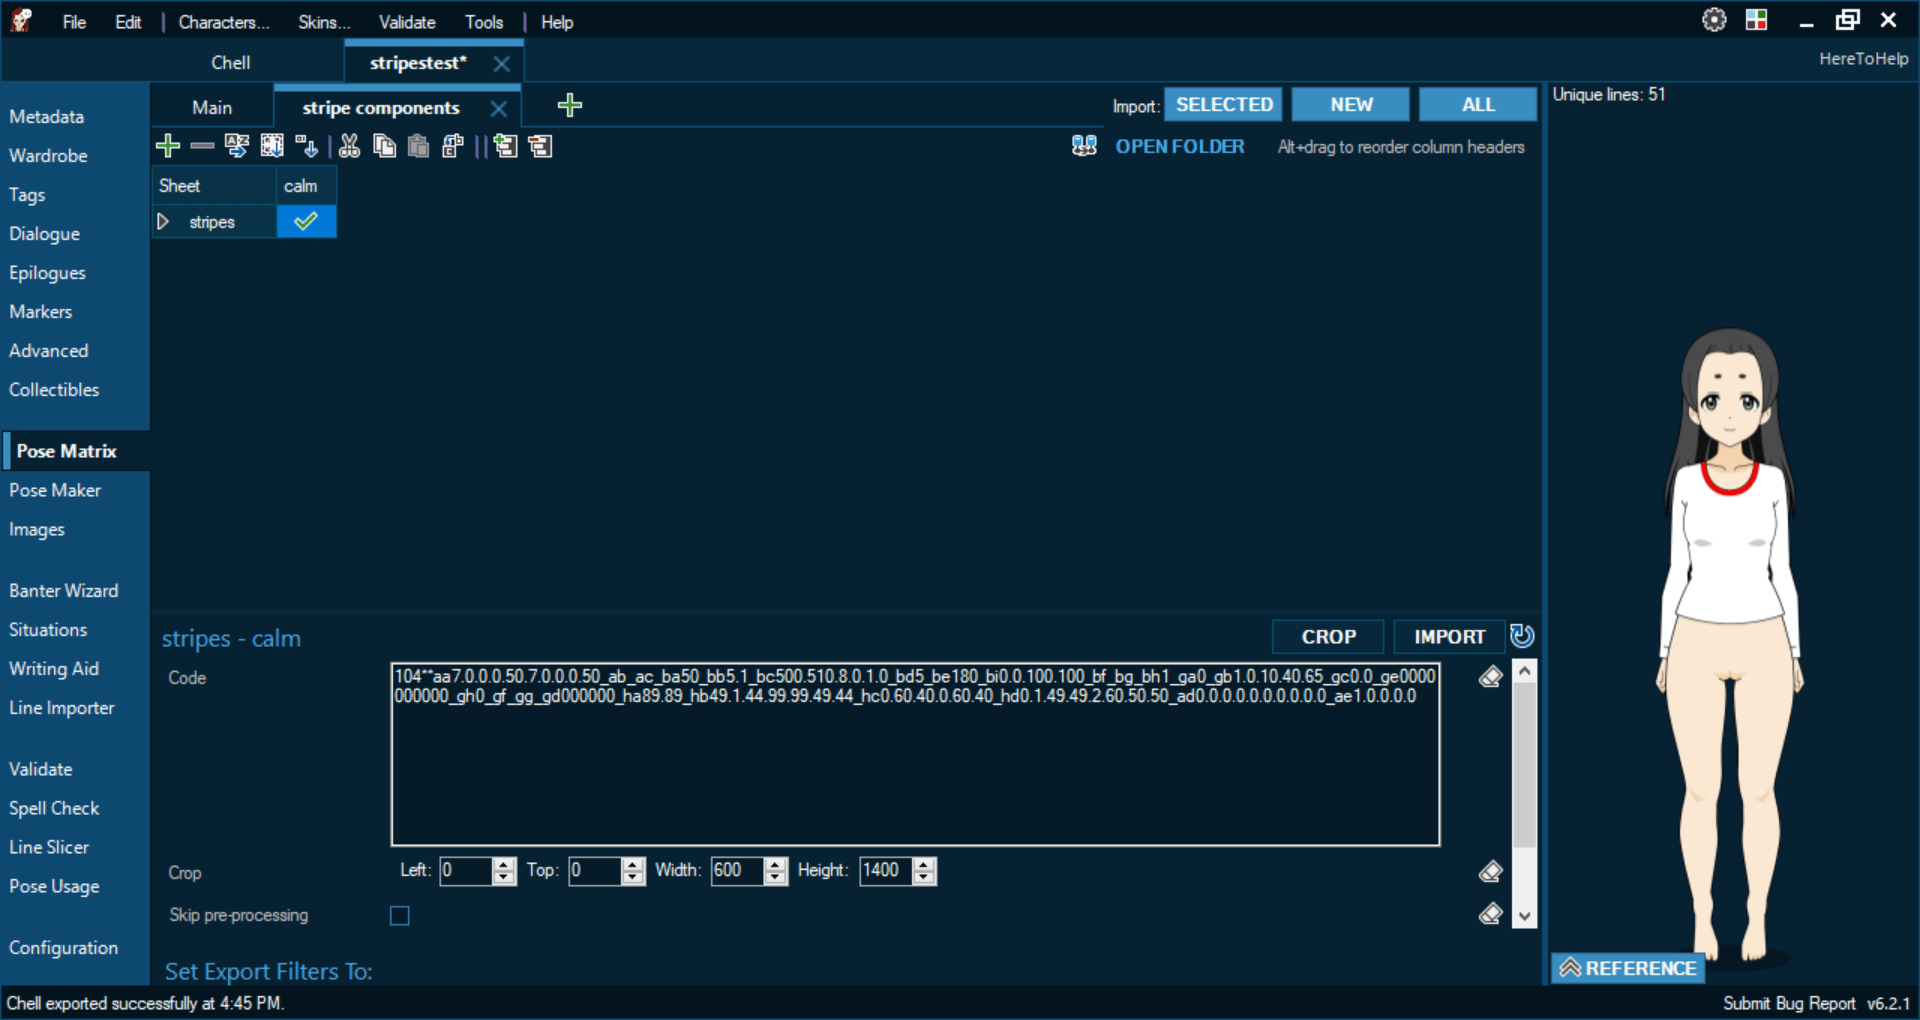
Now let's plug this wardrobe code back into the Pose Matrix.
And done, let's reimport:
Note
It isn't actually necessary to import between every step, but I consider it good practice. I like having things up to date before I move to the next step, and this lets me show you exactly what I've done better.
 Remember to close the export window and make sure the arrow is gone!
And done, now we make a new sheet and copy over from the previous one, click the plus sign next to the tab titled "Main" to open this up.
Warning
It is very important that you click "Stage Independent", forgetting to do so is a very easy mistake to make that will cause a lot of confusion later on!
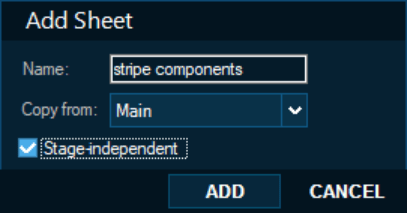
Let's rename this something that isn't Global, I'm just going to call it "stripes".
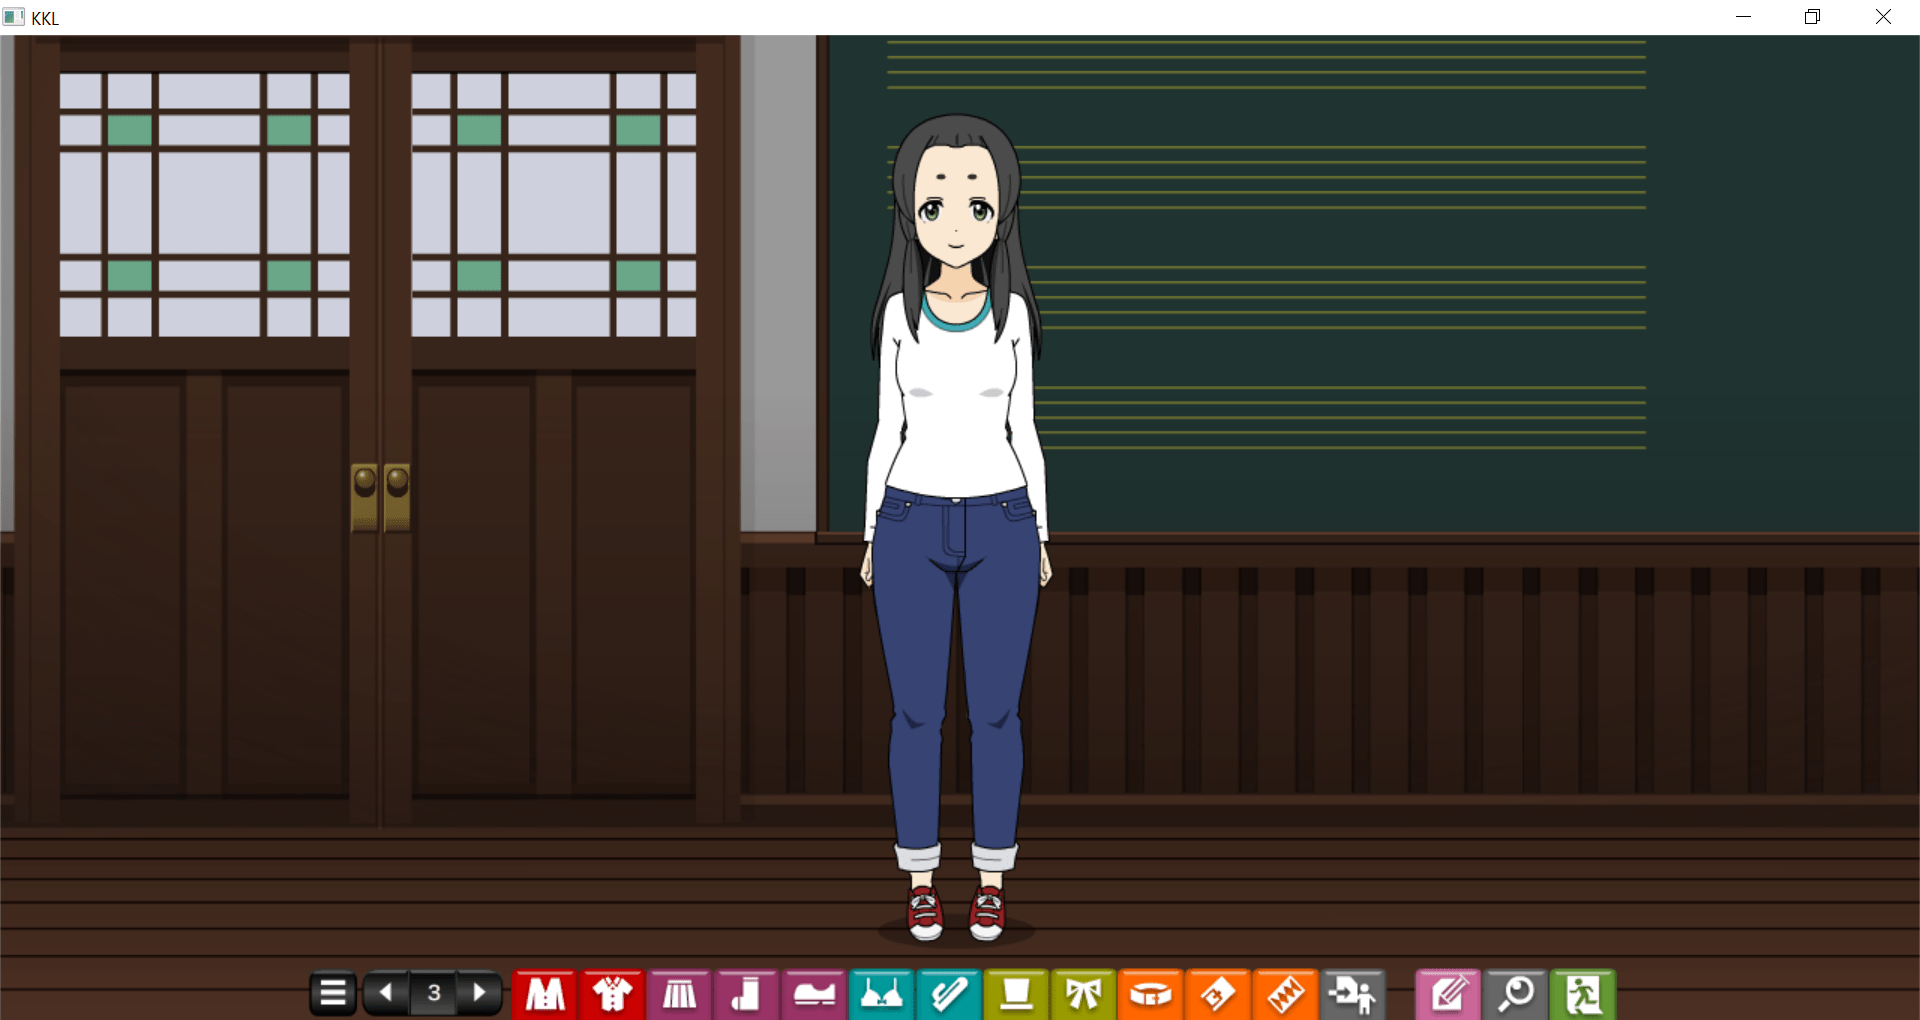
Now, we're gonna go back into KKL and remove everything but the shirt. I'm also gonna get rid of the hair that's covering her shoulders.
Warning
This is very important! Change the color of anything you still don't want stripes on! I like to use FF0000 for this, because it's a very clear, bright red. If you do not change the color of these parts, the pattern will go on them, too.
Once you're ready, drop that wardrobe code into the CE in your new sheet and import this new pose. Since I changed the hair, too, I'm gonna also change the appearance code. If you have multiple poses, they'll all be lined up because you copied from the Main sheet.
Adding Your Pattern
So this next part is slightly more advanced, but I really recommend it because it means if you rotate the body the stripes will also rotate. Don't worry, it's just one extra step.
So you're gonna need some image with your stripes set up, or whatever pattern you want to achieve.
Note
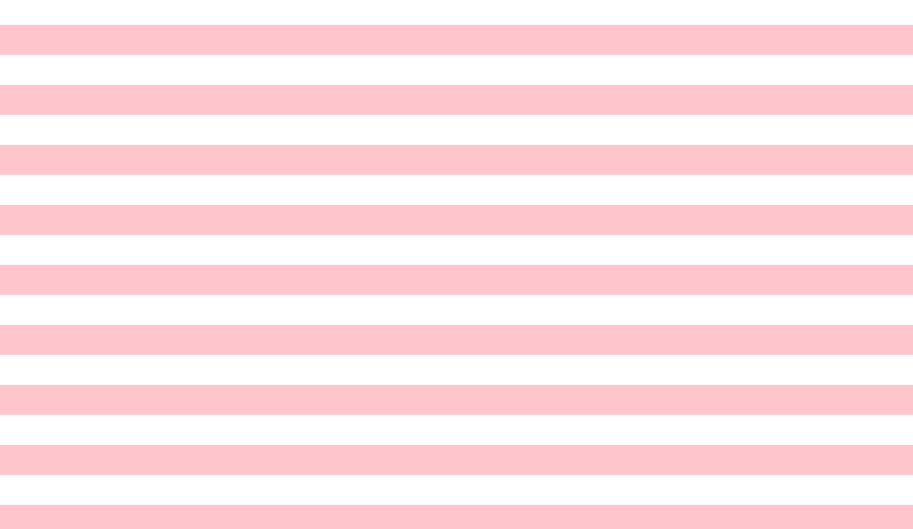
Pipelines are incredibly powerful! This image can be literally anything. I used an incredibly simple image of flat stripes. When you are actually making your model, you may want them to curve, or you may want multiple images to apply to different parts of the body. You can do all of these things, and it's generally very easy, but I'm not going to go too in-depth on them in this guide, as it's meant to just be the basics. Ask around in the discord servers, there will be many people very happy to help you figure it out!
So since I'm just going for very simple stripes, I just used this site https://patternizer.com/ and made a nice pink-and-white pattern. Note that both the white and the pink will be put over, not just the pink, so make sure they're both the colors you want.
Next load it into KKL as an image attachment (Make sure it's not global! It needs to be attached to the character!), and line it up how you want. It's super easy if you just change the transparency of it so you can see through and line it up better, but make sure you put it back to full transparency before exporting!
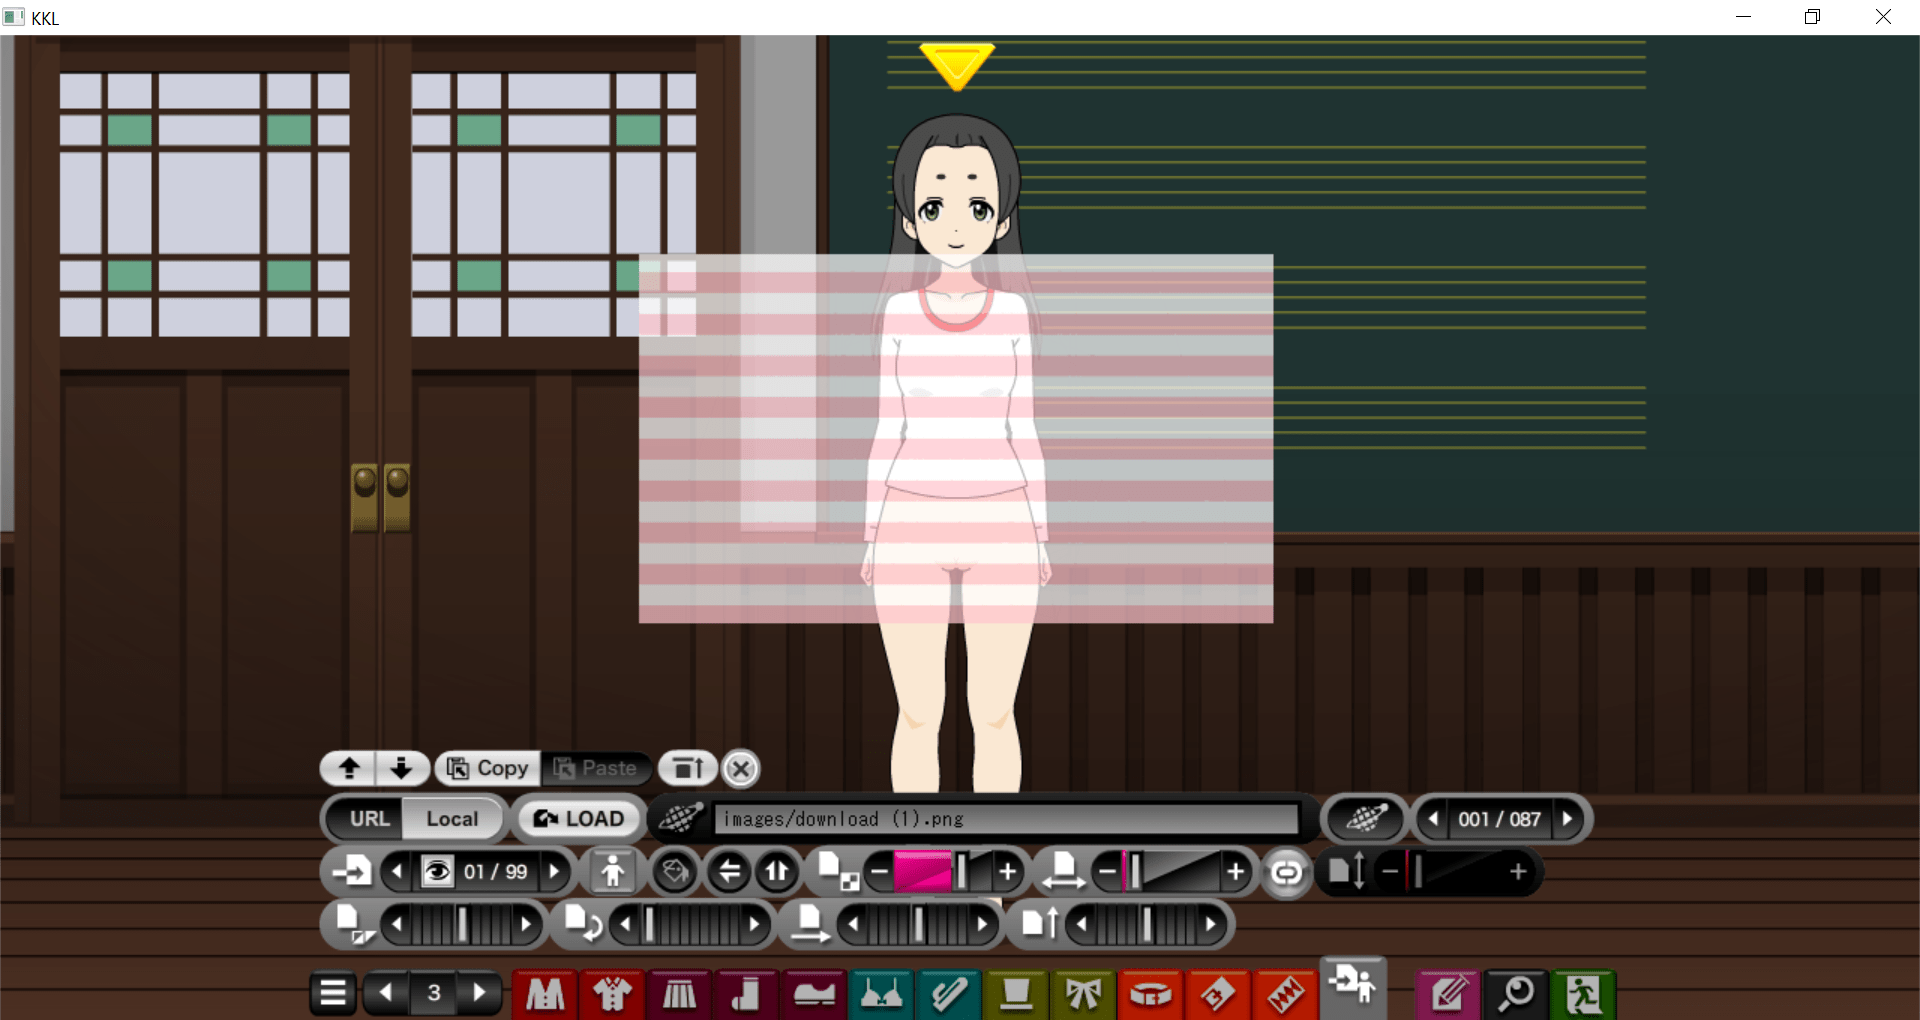
Note
If you want this image on the arms, it needs to cover the full size of the arm's movement. This image is actually slightly wrong, because if she raised her arms up they would be out of that range, so try to keep that in mind!
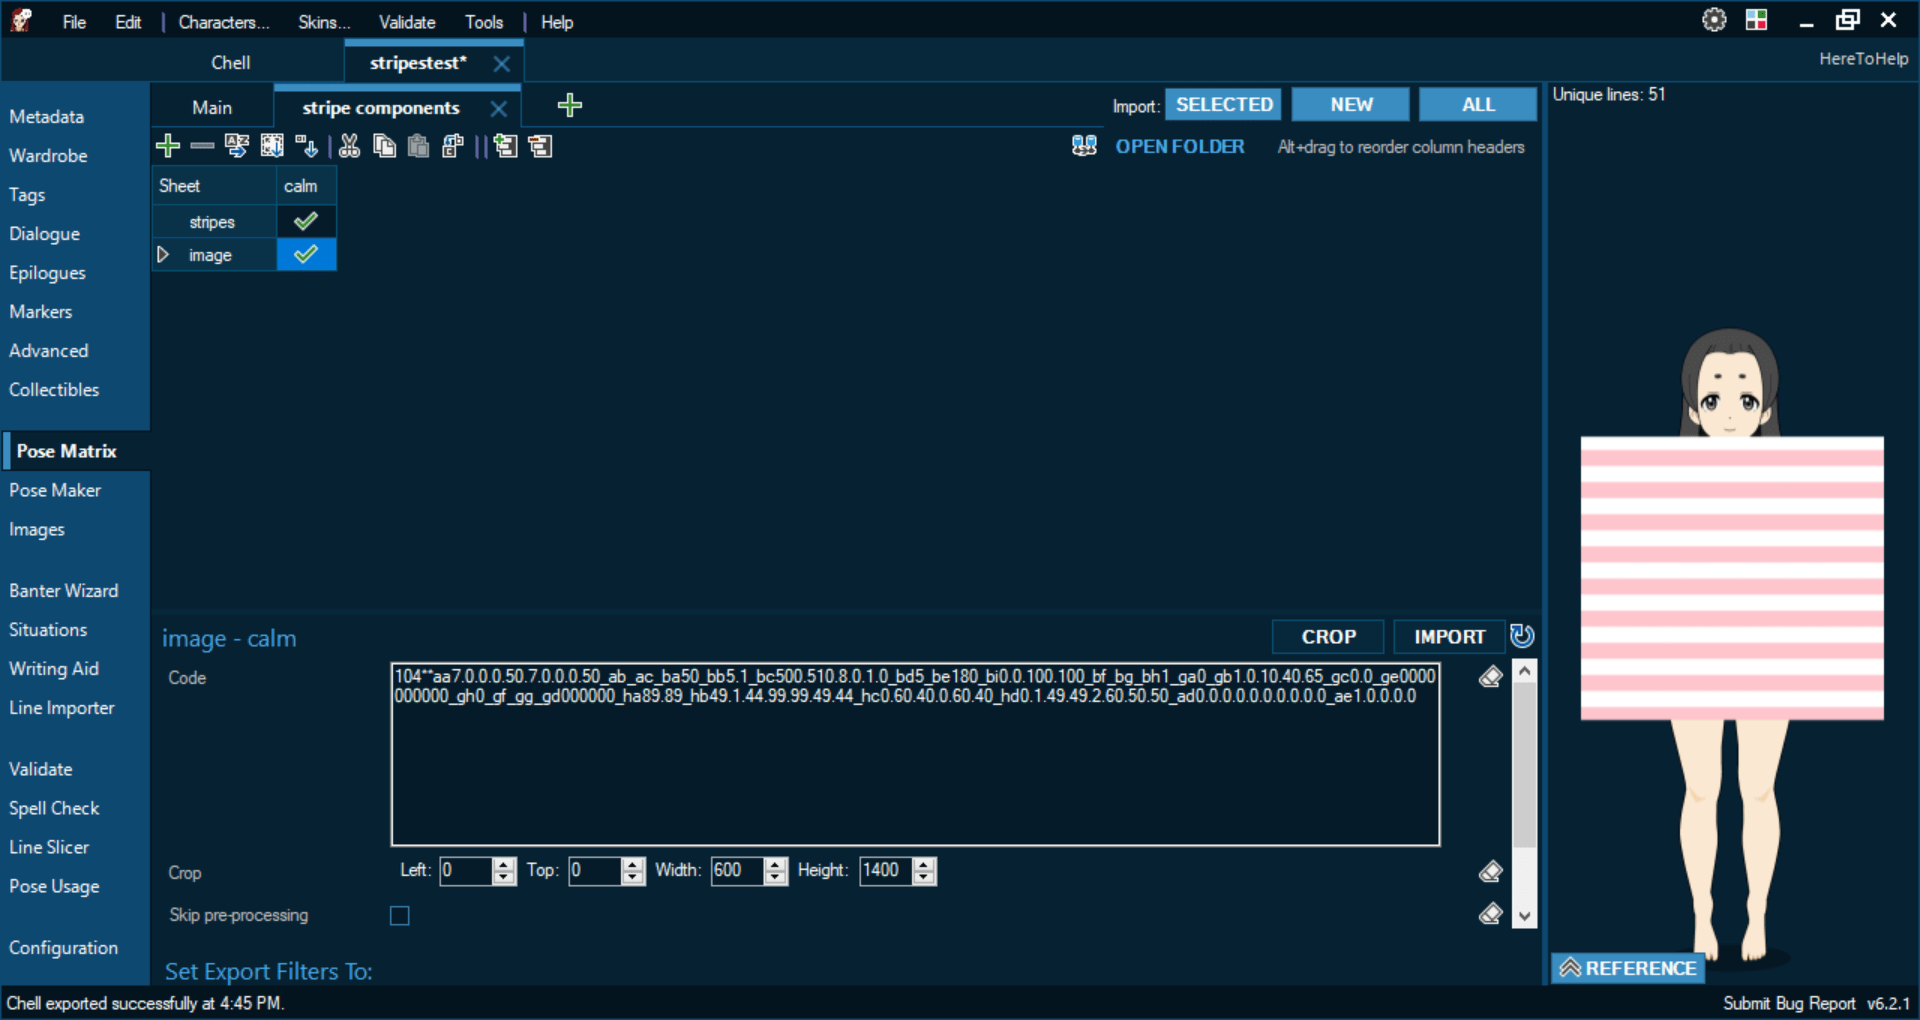
We're gonna make another line on the sheet, I'm just gonna call it "image", and paste the wardrobe code in.
Warning
You need to make sure that your image doesn't have any special characters, to be safe try to keep it to just numbers and letters, no spaces! This messed me up for a few minutes while I was originally making this shirt, it's a very easy mistake to make!
Now let's import it!
Because we turned this into a new pose, the image will rotate with the body, which is exactly what we want!
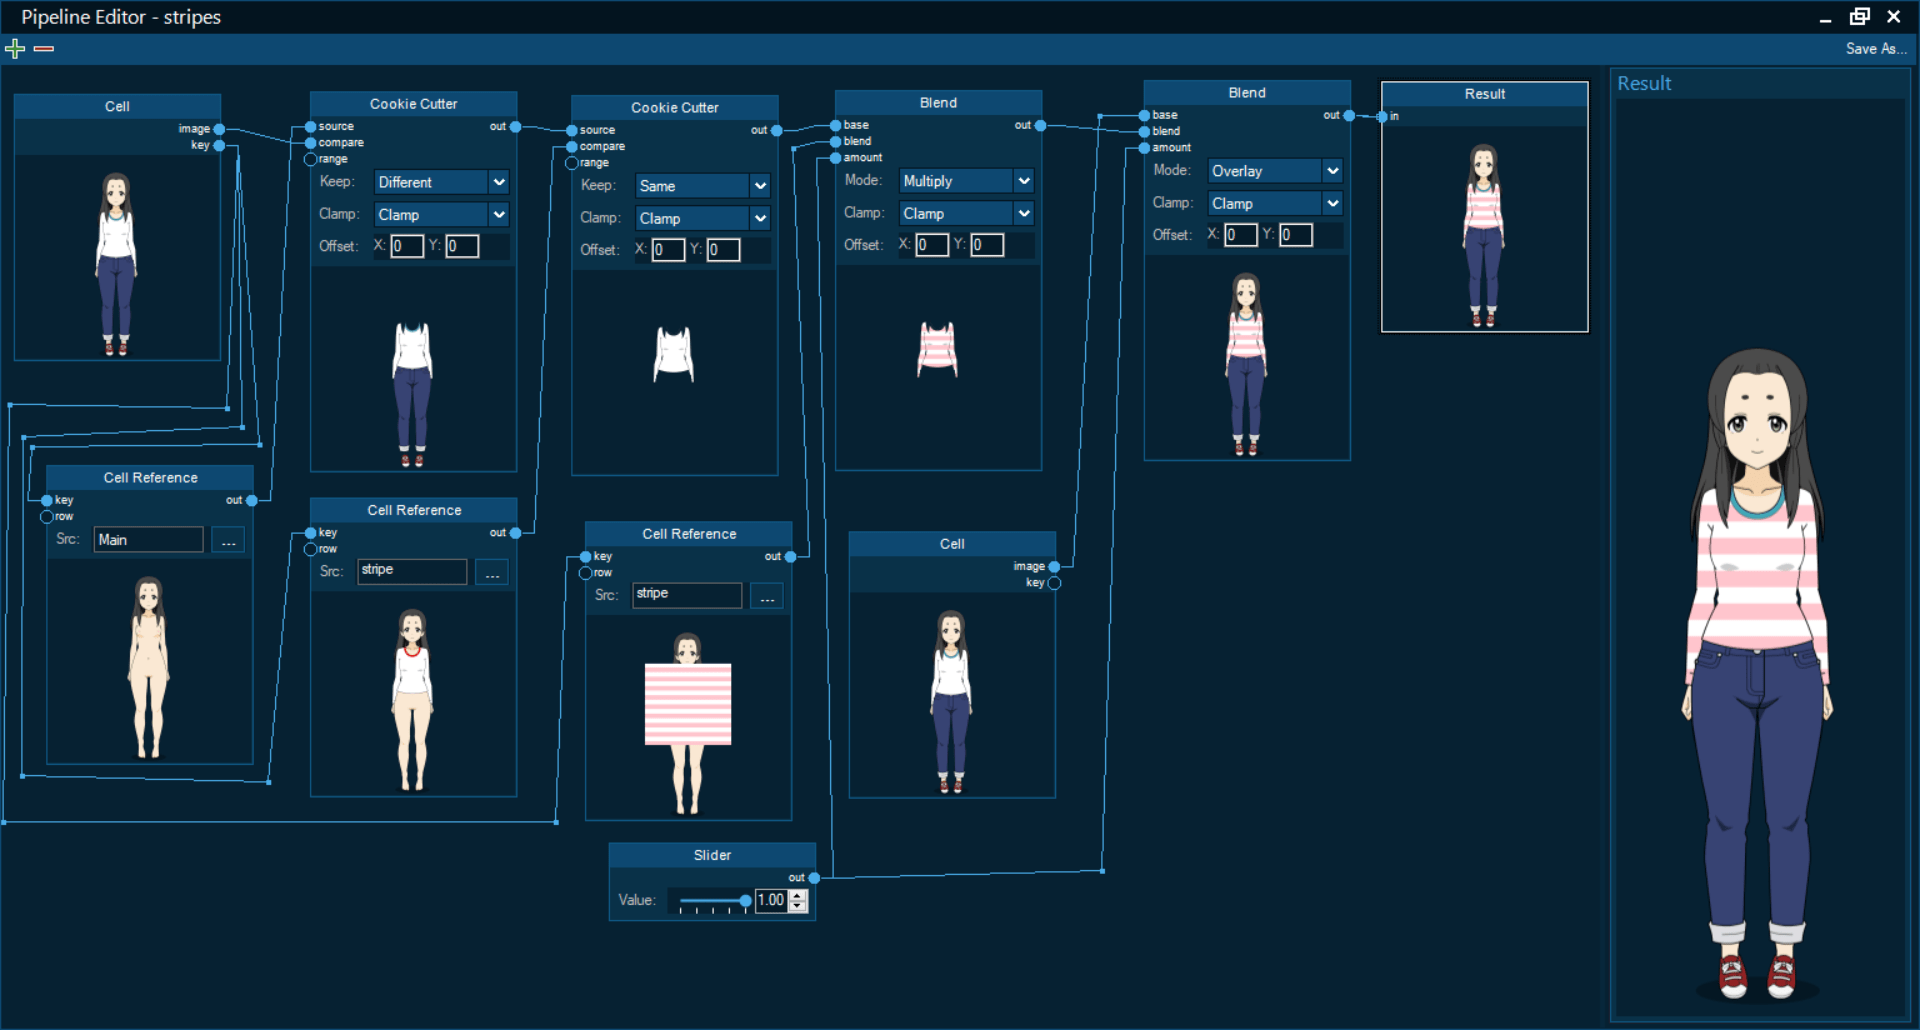
Making the Pipeline
Finally time to put it all together!
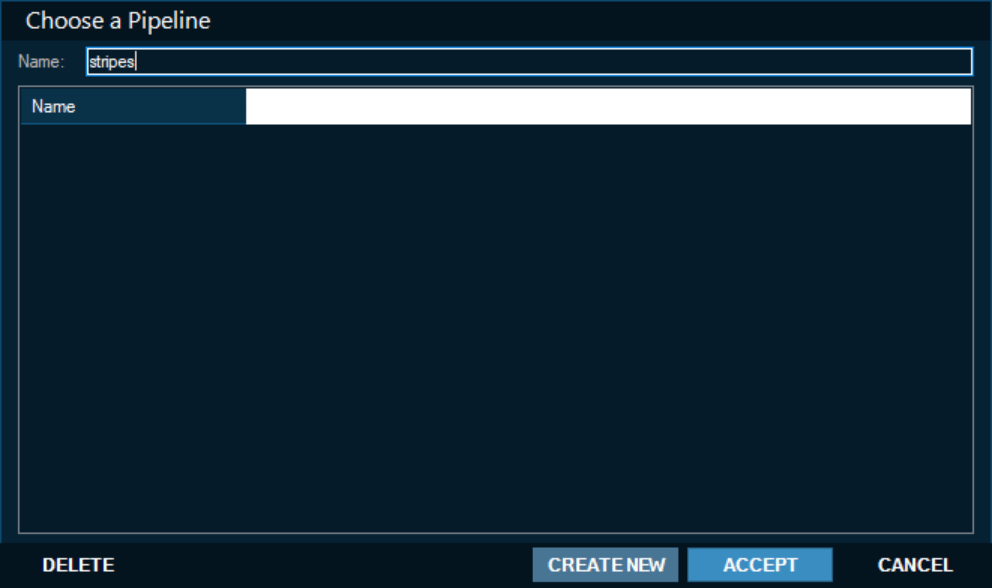
Got to the cell you want, scroll down, and click the magnifying glass.
We'll make a new pipeline, let's call it stripes.
Step 1: Isolate the Clothes
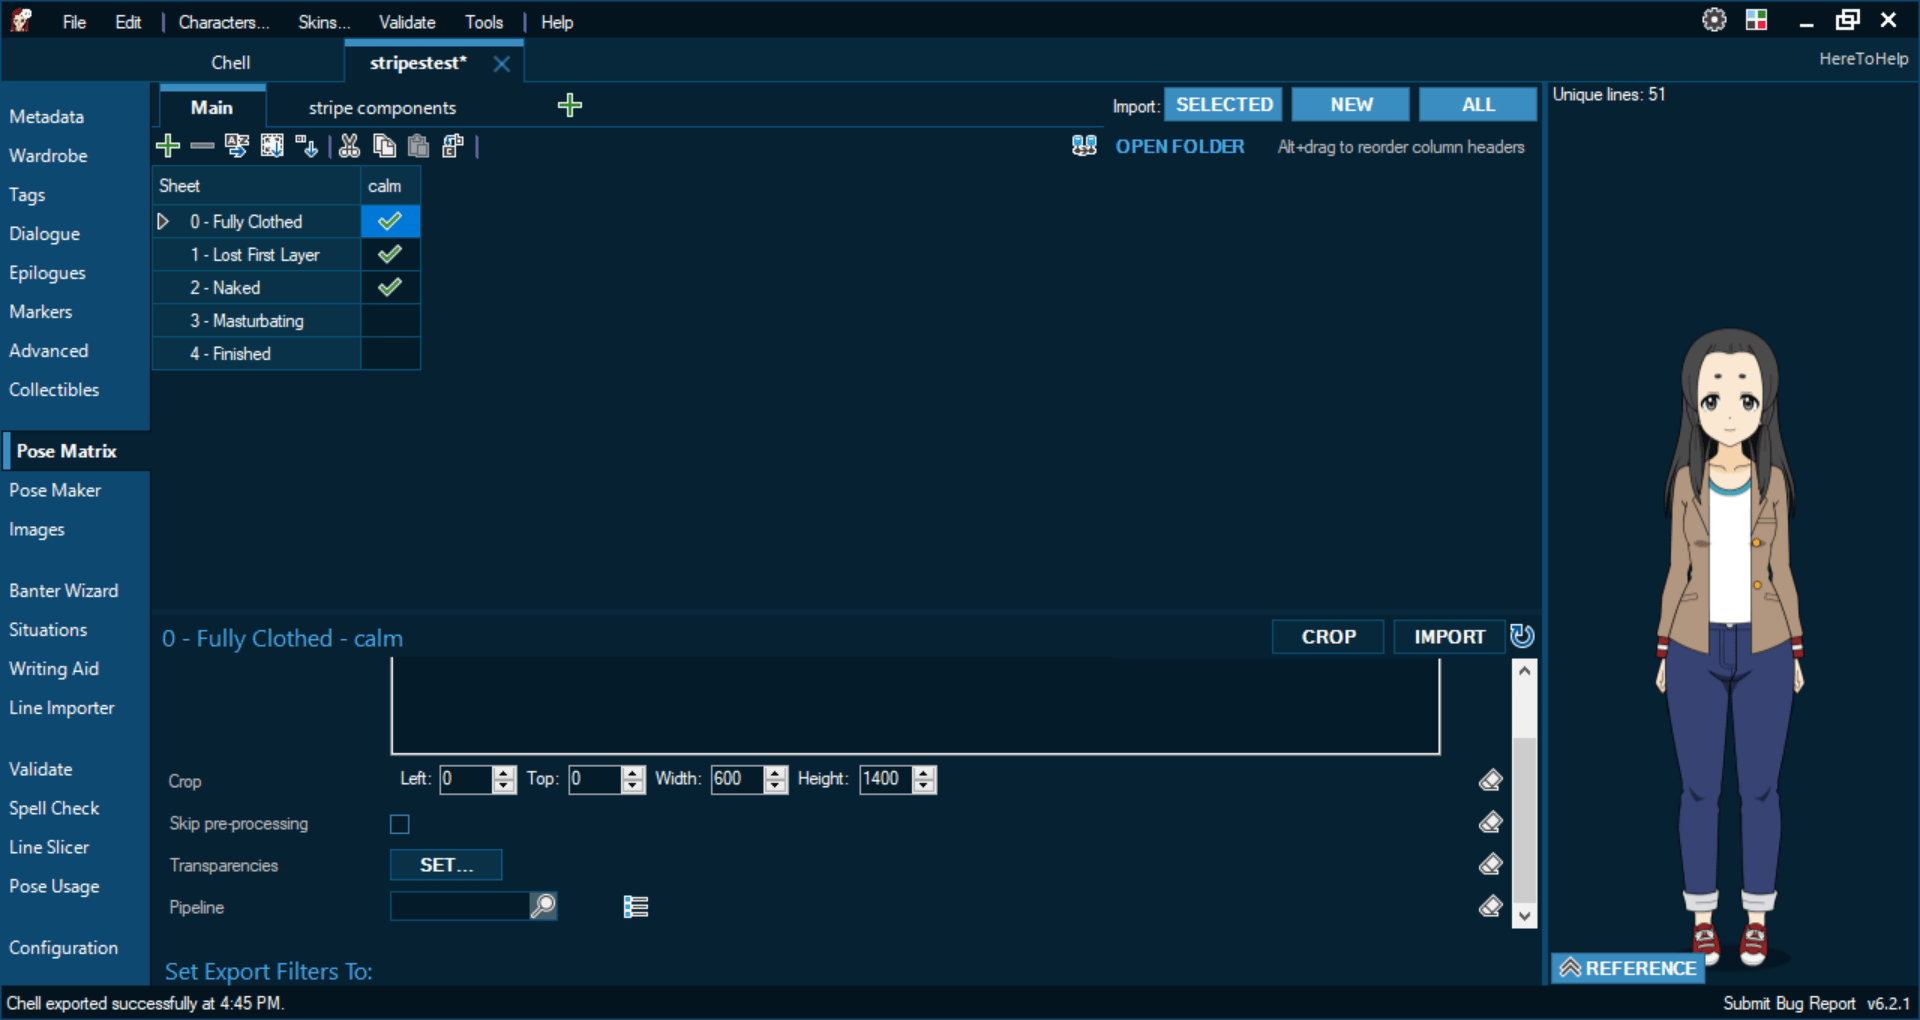
That's super easy, we just use a cookie cutter node, which was added in version 6.2.1! Select one version with her clothes, and a cell with her naked, plugging the naked into "source" and the clothed into "compare".
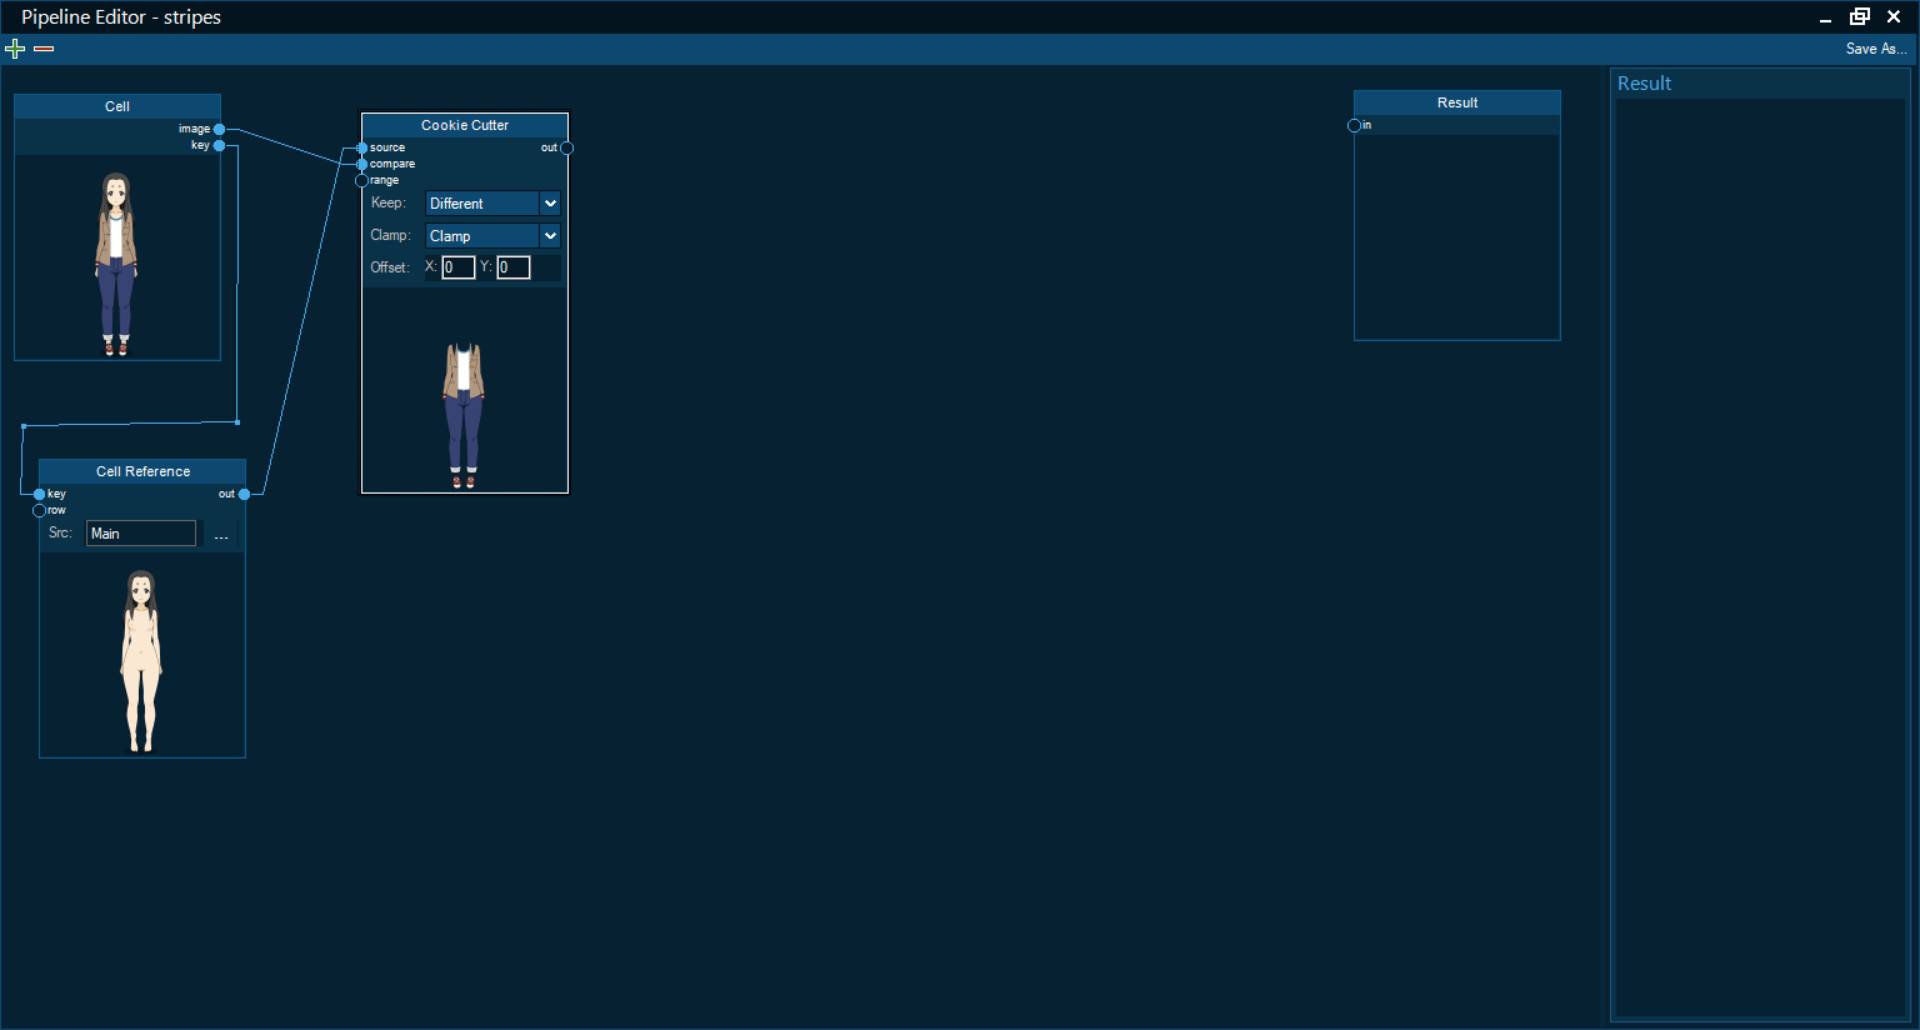
Warning
Make sure to connect the "key" output from the Cell node into the Cell Reference! This will mean our reference changes with the pose. If you don't do this, they won't line up and the pipeline will get confused!
Step 2: Just Take the Shirt
Same idea, this time with a cell reference to the "stripes" row we made. We're gonna set Cookie Cutter to "Same" this time, and it actually doesn't matter which one is the source, but again make sure to line up the key!
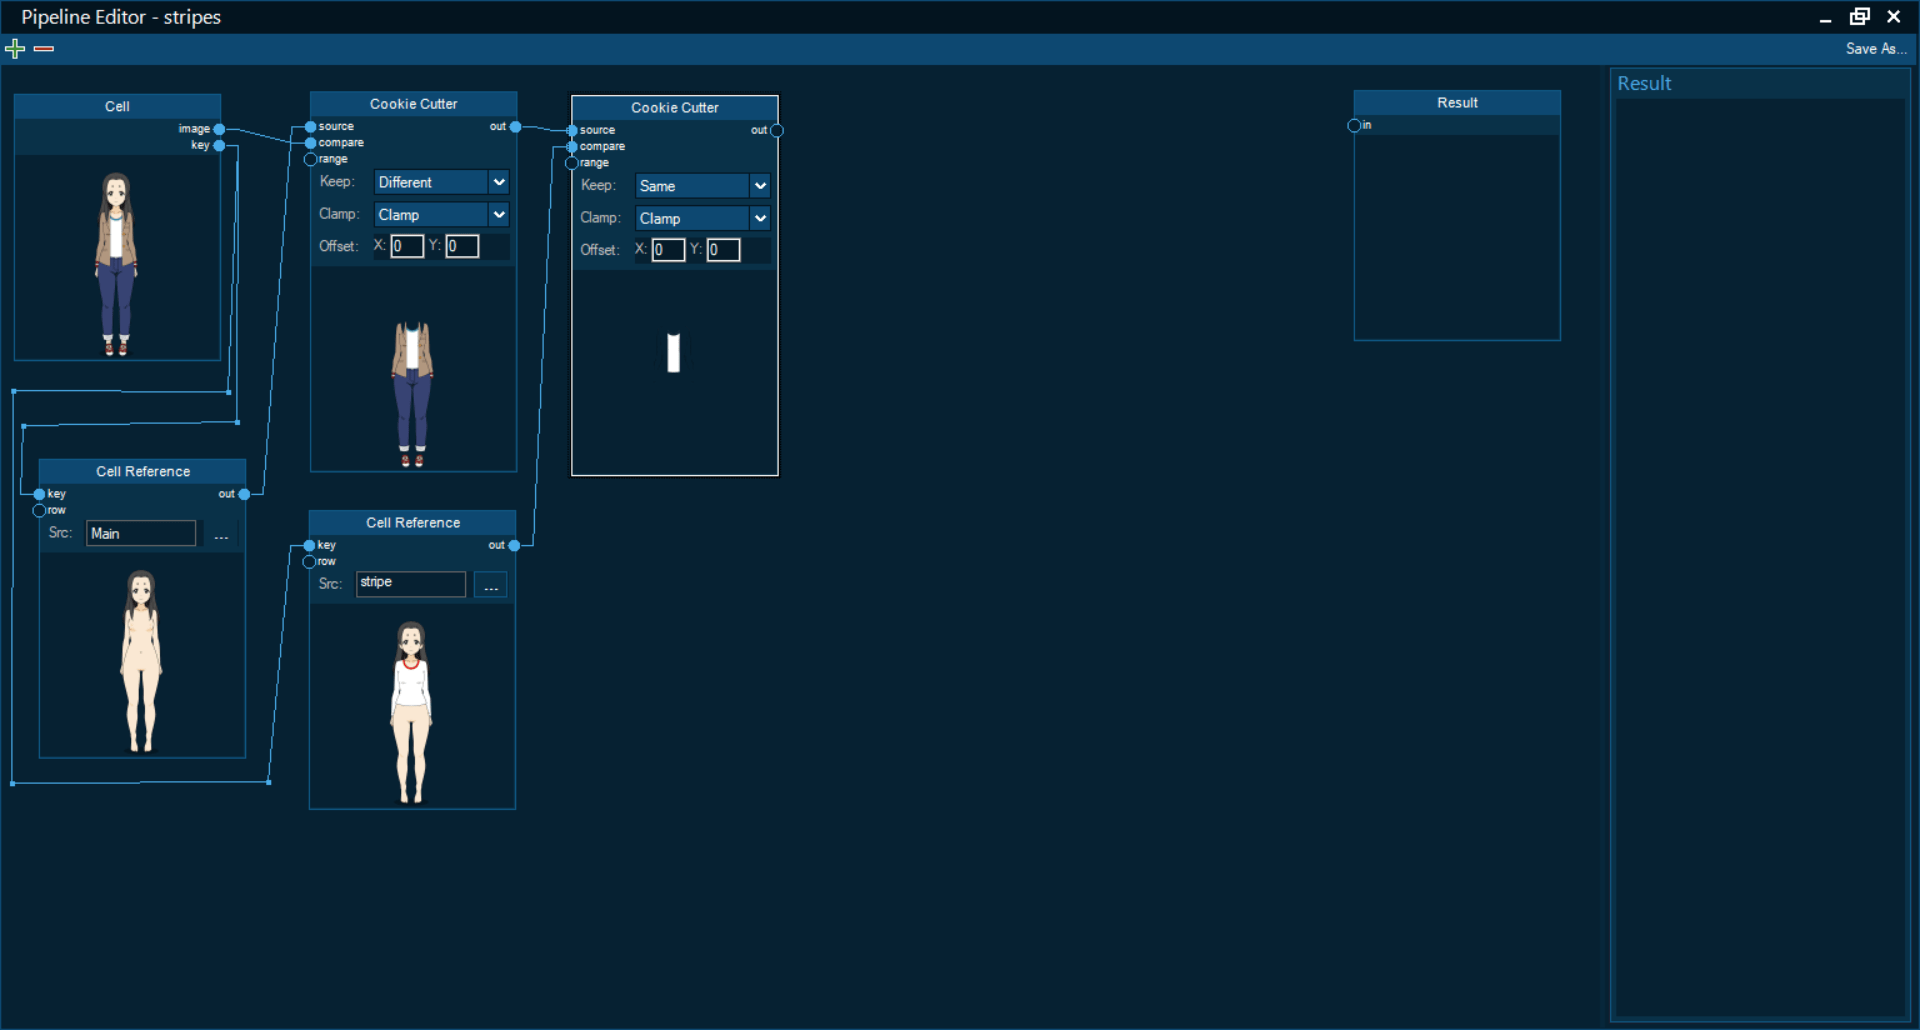
This is actually why we made the collar red earlier, the cookie cutter checks for pixels that are the same, so it won't get stripes here!
Step 3: Pretty Much the Same Thing!
Make sure to key up your new pose, this time the "image" one, and we're gonna plug it into a Blend node set to "Multiply". This is why we made it pure white, so we can get the new color perfectly (but, because some of the outline will be brought with us, the black will stay the same). Importantly, make a slider node set to 1 and plug it into the amount.
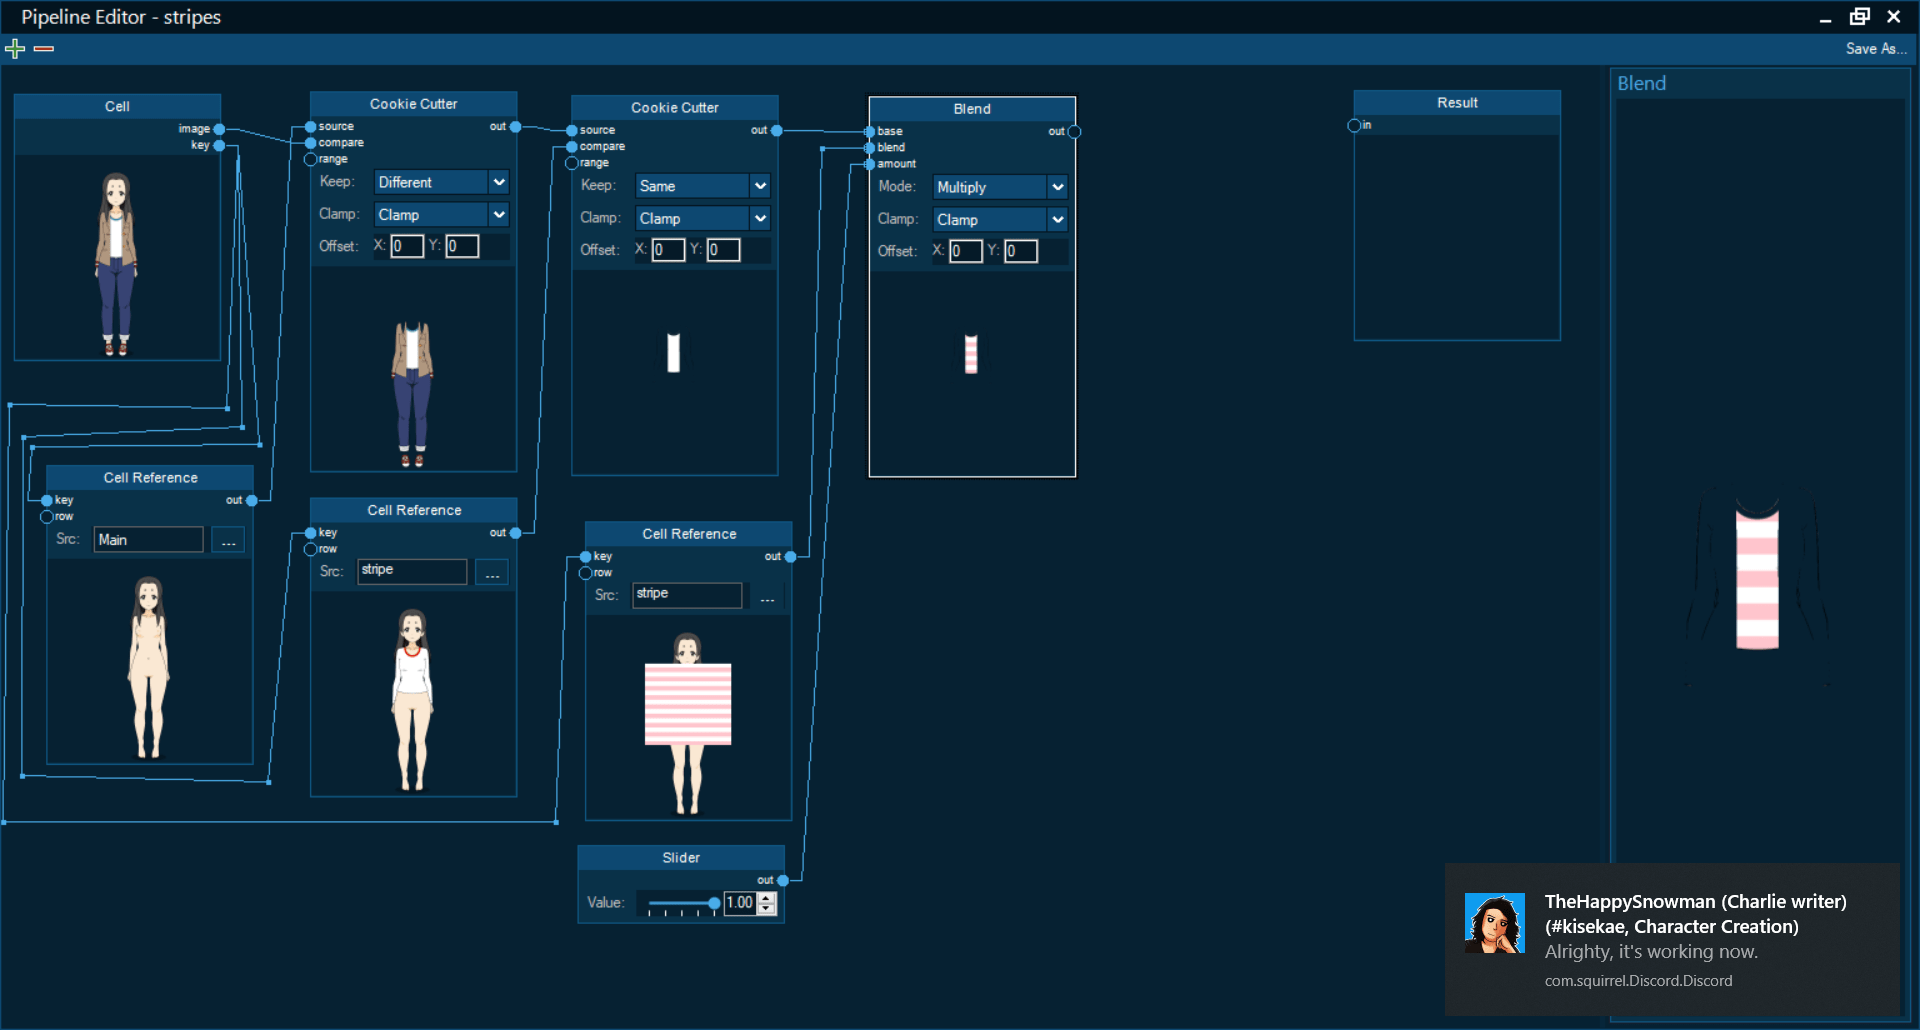
Yes, a notification popped up while I was taking the screenshot, feel free to ignore that, it isn't covering anything!
Note
You can double click a node to view it on the sidebar!
Step 4: Overlay
Finally, a Blend node set to "Overlay". You're gonna want to plug in the original cell and this strip of stripes, and a slider set to 1. Then just plug that into the results and that's it!
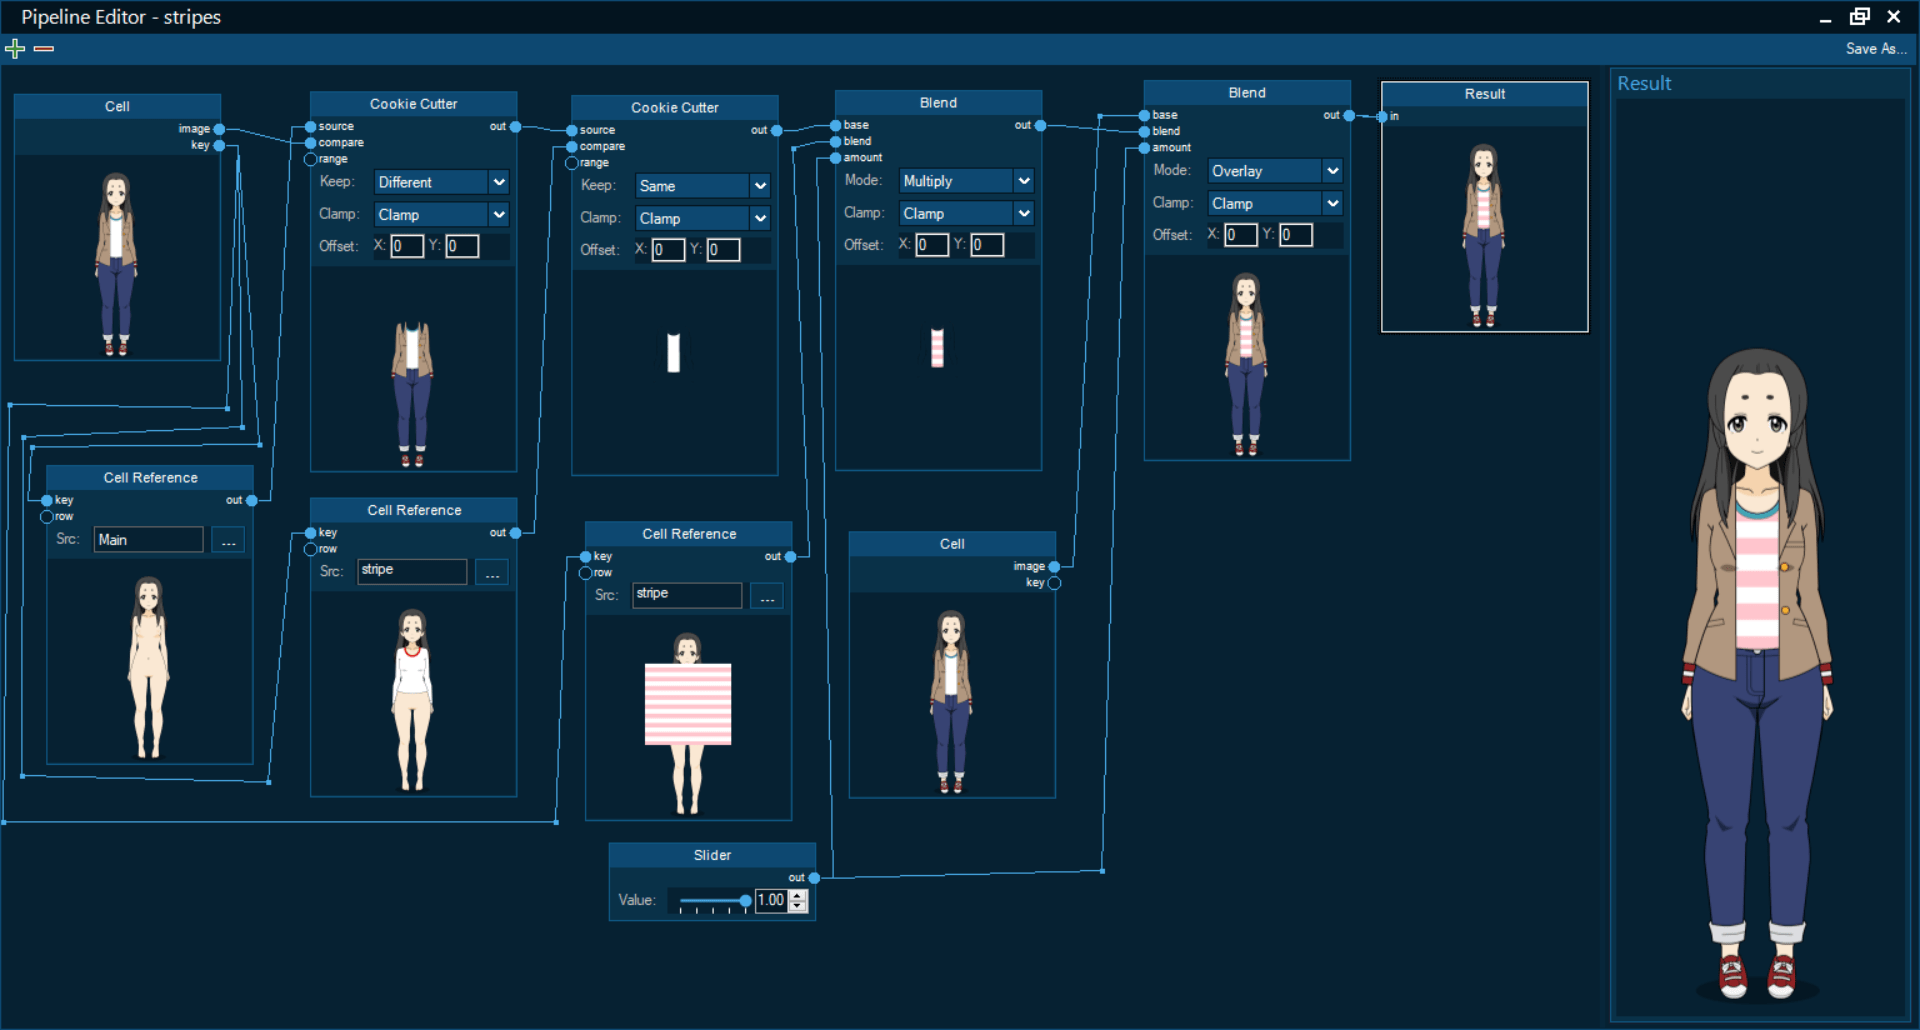
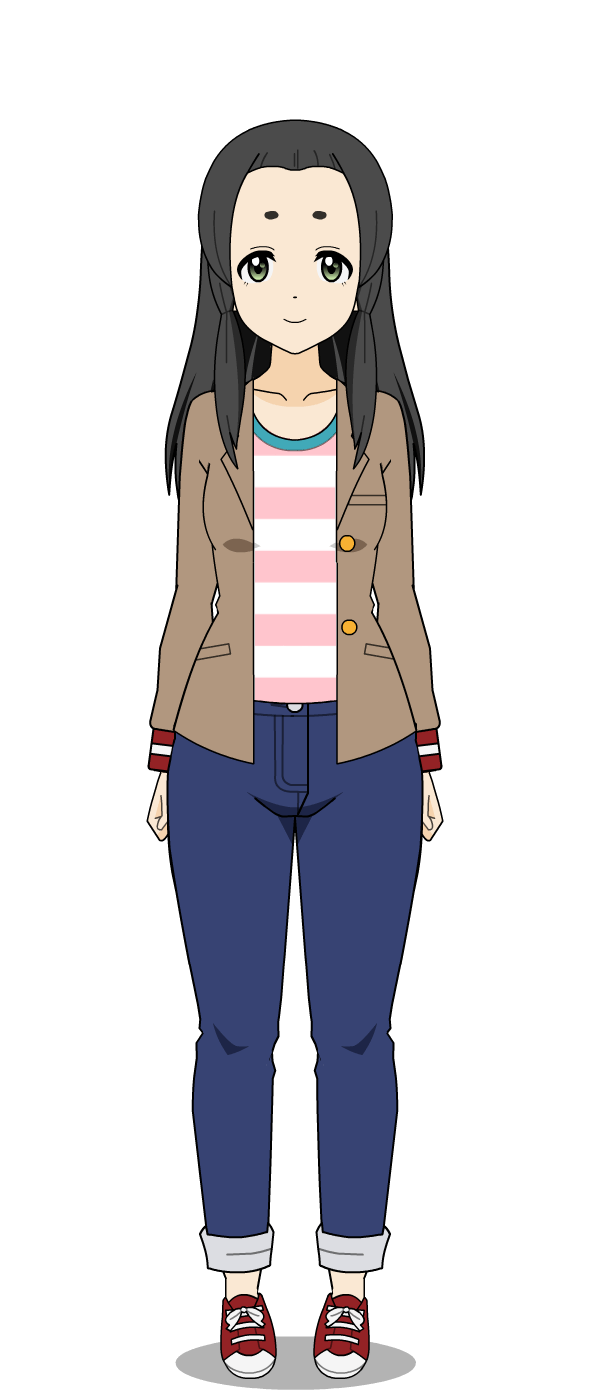
Now let me show you the best part. Earlier I made a pose without the jacket.
This is why pipelines are so amazing.
No matter what you end up wearing over it, the stripes will go on the shirt and only the shirt! The hair or hands or anything can go over, and as long as you did the "key" connectors it just works. Also, because we did the image attachment method, you can rotate the body to your liking and the stripes will rotate with you!
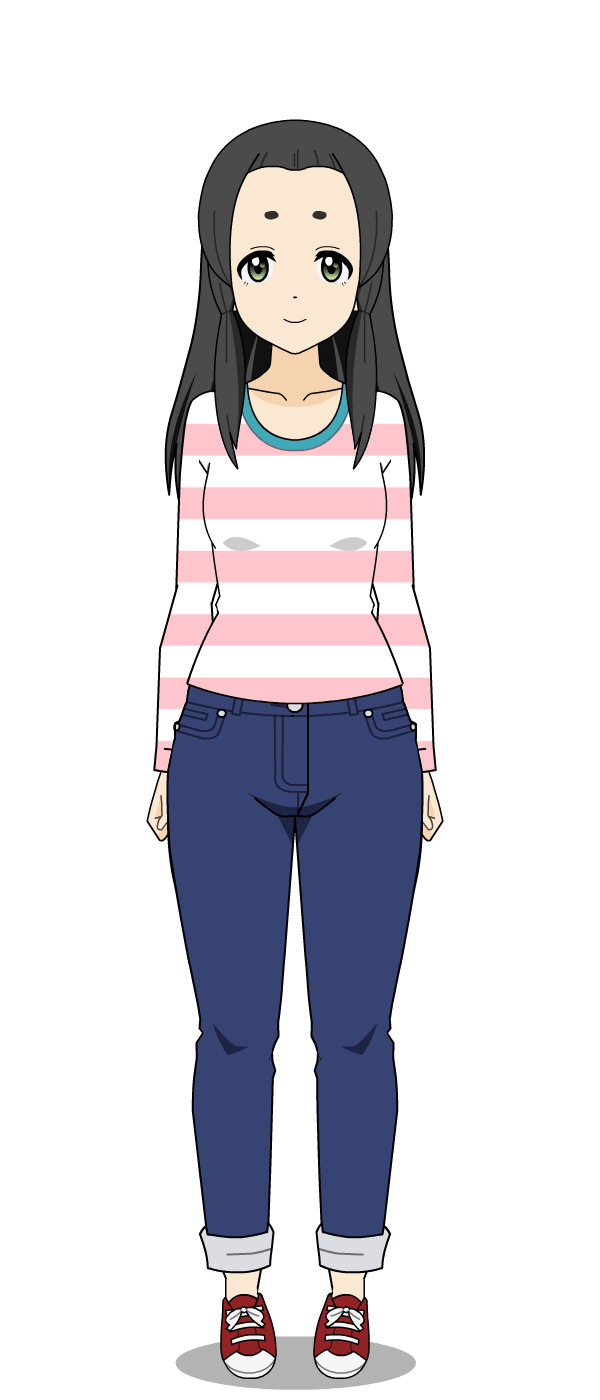
Pipelines can take a bit long to import, but let's import these two poses. Remember to add the stripes pipeline to any stage with the shirt!
And here we are! This default-chan is good to go, with or without her jacket!
That should cover everything! Thank you for taking the time to learn how to do things with the docs repo, and I hope you're seeing some of the potential of Image Import Pipelines! They're an amazing tool, and I highly encourage you to play around with them! Of course, their truest strength is that they are part of the CE, so you can change your appearance, or poses, or wardrobe, and it will still work perfectly!
I am not some expert that's been working on this game since the dawn of time, I only joined two months ago and I haven't even gotten a character in the game yet (although I'm getting close)! The only reason I'm here, making a guide on pipelines and experimenting and finding new ways to do things, is because I was eager enough to try. If you feel intimidated by inexperience, or if you worry that you aren't qualified to do what you're trying to do, then ask for help, talk to people, and most importantly try. Advances and innovation come from the people who put in the work to bring them to fruition, and I personally can't wait to see how this game develops in the future. If you have an idea, or are excited by the possibilities a new tool offers, I really hope you really push yourself to explore it to the fullest!
Once again, if you have any questions, need something clarified or elaborated on, or generally need any help, feel free to ask in the Discord server! My username is HereToHelp#1941, and as long as I'm awake and not in a class or something, I should be able to clear things up or let you know where you can find the answer you're looking for!